Storey manager
The storey manager is used to structure the project. Buildings and associated floors can be created in the floor manager. With the BIM management tool, buildings and floor associations can be controlled within cadwork. Instead of the previous floor structure via the assembly, the floor manager (BMT) is used from version 27. The tool enables a clear, structured order of the floors and the associated components.
Storey/BIM manager
The storey manager or the BIM Management Tool (BMT) can either be docked to the left or the right menu or it can be opened as an extra window.
The Floor Manager can be opened via Window --> BIM Management Tool, or in the upper configuration bar by clicking on the "Floor/BMT" button.

The storey
A storey is the totality of all rooms in a building, which are located on an access level and are connected horizontally. It is possible for a storey to have differences in height. However, the decisive factor is that the rooms belong together horizontally. The term is used today regardless of the type of building construction.freely translated according to: German Wikipedia "Geschoss"
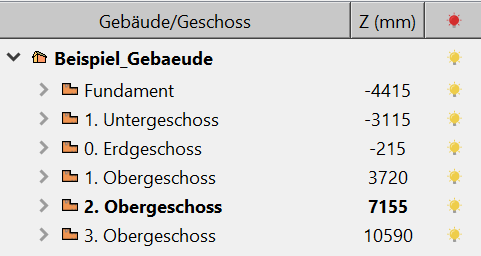
Many CAD software require defined heights in addition to the floor structure. Therefore, the heights can be defined in the floor settings.
The height is, IFC-conform, always to be seen as the top edge of the unfinished floor (as attribute IfcBuildingstorey: Elevation).
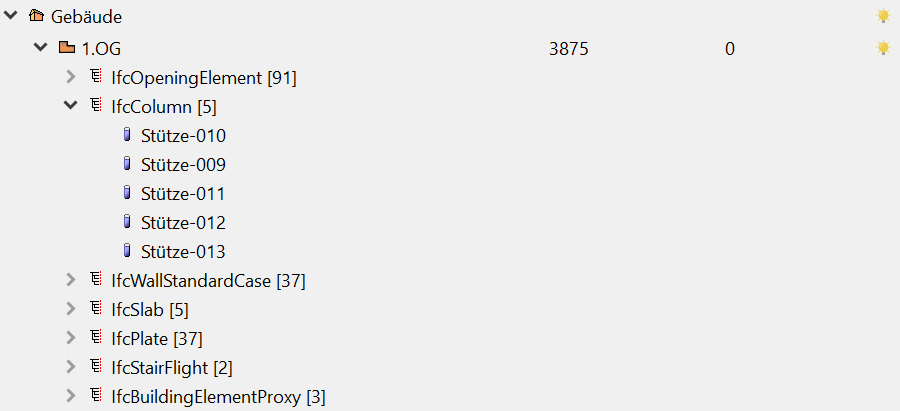
A storey includes the ceiling and the components "on top of it" (walls, columns, etc.).

The context menu
Right-clicking in the BIM management tool opens the context menu. Various settings can be made via the context menu. The options in the context menu differ for a right-click on a building and a right-click in the empty area of the BMT.
Right-click in the empty area
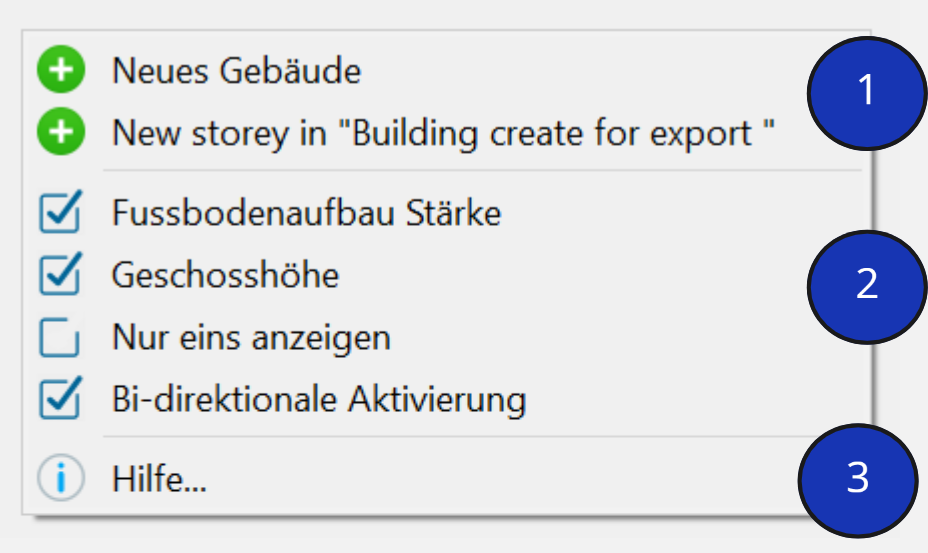
- Creating a new building and creating a new storey in the active building.
- Displayed information in BMT
- Finished floor thickness. The summarised floor thickness is entered as one value.
- Elevation. Usually the Elevation height is based on top of of rough floor.
- Display one storey. Only the selected storey is visible, the others are hidden.
- Bi-directional control
-
Help...
-
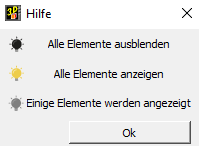
Detailed information on the traffic lights system for visualisation.
Right-click on an existing building / on an existing floor
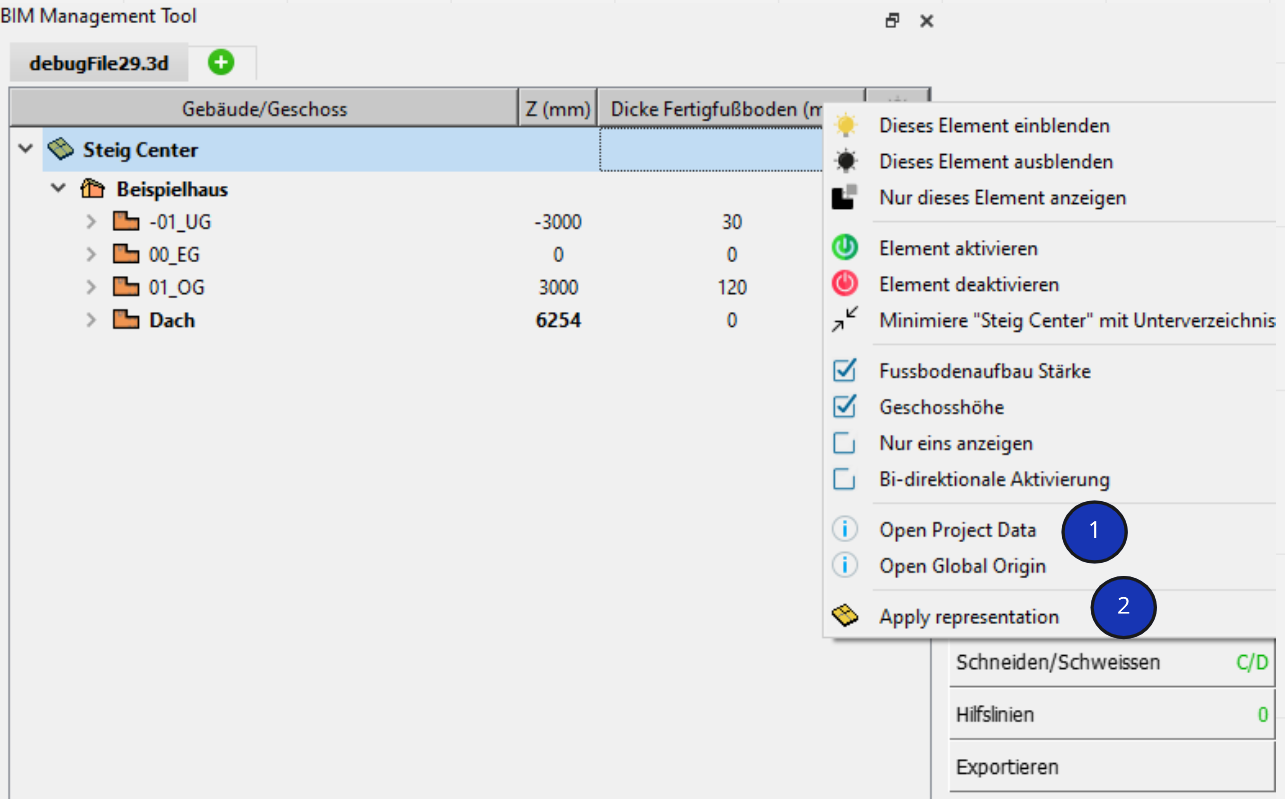
- Configuration buiding/storey
- Visibility settings
- Three filtering options for visibility of chosen tree entry.
- State of elements and maximizing/minimizing tree view
- Activate or deactivate elements in chosen tree entry
- Expanded directories can be minimized via this button and vice versa
Assign elements to building/storey
Option A
- Double click on the floor in the BMT activates the building/storey
- Newly modeled elements are directly assigned to this building/storey
Option B
- Activates elements can be assigned to existint buildings/storeys via Modify -> BIM -> Building or via Modify -> BIM -> Storey